In this guide, we will learn about Argo CD Accounts, RBAC, creating a new account in Argo CD, and configuring RBAC for the account.
What are Accounts on Argo CD?
In Argo CD, accounts refer to the identities of users who have permission to access the Argo CD server through the UI or CLI.
Initially, Argo CD only had an admin user with full permission on Argo CD, then user accounts are created for every user with limited permissions by the admin user.
During the user account creation, the admin can assign two types of permissions:
- login – which gives UI access to users
- apikey – this allows users to create their own API tokens for access.
We can create and disable accounts using the argocd-cm configmap, where every account’s details are stored; we can even disable the admin user using the argocd-cm configmap.
What is Argo CD RBAC?
Argo CD RBAC is used to provide granular permissions for every user and group available on Argo CD.
By giving the least permission to a user according to their task helps to increase the security of Argo CD.
With the help of RBAC, only users with permission can access the resources on Argo CD.
For example, if an application is deployed using Argo CD, the user who has permission on the application can only make changes to the application.
If a user without permission on the application tries to make any changes, they will receive an unauthorized error.
Argo CD RBAC provides permission for the following
- Users – Assign every user with specific permissions on Argo CD.
- Groups – Using this you can add multiple users to the group and the permissions given to the group are applied for every user in the group.
- Argo CD Resources – Gives permission to Argo CD resources like applications, projects, etc.
- Actions on Argo CD – Allow users to perform specific actions on Argo CD like creating an application or deleting it.
First, let’s start with creating a new account on Argo CD.
Create a New Account in Argo CD
Before starting the process, make sure you have installed argocd-cli on your system.
If you have installed Argo CD CLI run the following command to log in to Argo CD.
argocd login <url>:<port> --username <username> --password <password>Make sure to replace the bolded letters in the above command with your Argo CD URL, port, username, and password.
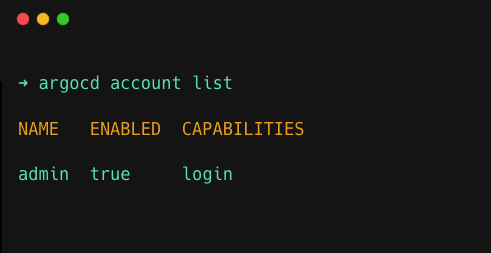
As an initial step let’s list every account in Argo CD using the command given below
argocd account listYou will get every available account on your Argo CD as shown below, my Argo CD only has an admin account so it’s only showing it
Now add a new account using Argo CDs configmap, to do that get the configmap argocd-cm by running the following command
kubectl get configmap argocd-cm -n argocd -o yaml > argocd-cm.yamlTo add a new account, open the configmap file argocd-cm.yaml and add the following line under data
data:
  accounts.crunchops: login
Now run the following command to apply the changes made in Argo CDs configmap
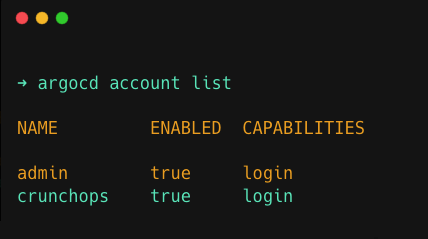
kubectl apply -n argocd -f argocd-cm.yamlOnce it is executed, you can verify if your account has been added to Argo CD using the account list command
argocd account listYou can see your account has been successfully added to Argo CD
For more information on Argo CD Account creation refer this document.
Configure RBAC for the Account
We are going to use the argocd-rbac-cm configmap file of Argo CD to configure RBAC, to get the RBAC configmap file run the following command
kubectl get configmap argocd-rbac-cm -n argocd -o yaml > argocd-rbac-cm.ymlNow open the configmap file, for the newly created account I am only going to give read-only access, to do that add the following line in the argocd-rbac-cm file under data
data:
  policy.csv: |
    p, role:readonly, applications, get, *, allow
    g, crunchops, role:readonly
If you want to give other permission to the account you can replace readonly with readwrite, readexecute, or specify admin to give admin permissions.
Run the following command to update RBAC
kubectl apply -n argocd -f argocd-rbac-cm.ymlThe final step is to create a new password for the account, to create a new password run the following command
argocd account update-password --account <new-account-name> --current-password <admin-password> --new-password <new-account-password>Make sure to replace the bolded letters in the above command with the admin password, new account name, and new password for the account.
Once you have updated the password, you can use the username and password to log in to your Argo CD UI and CLI.
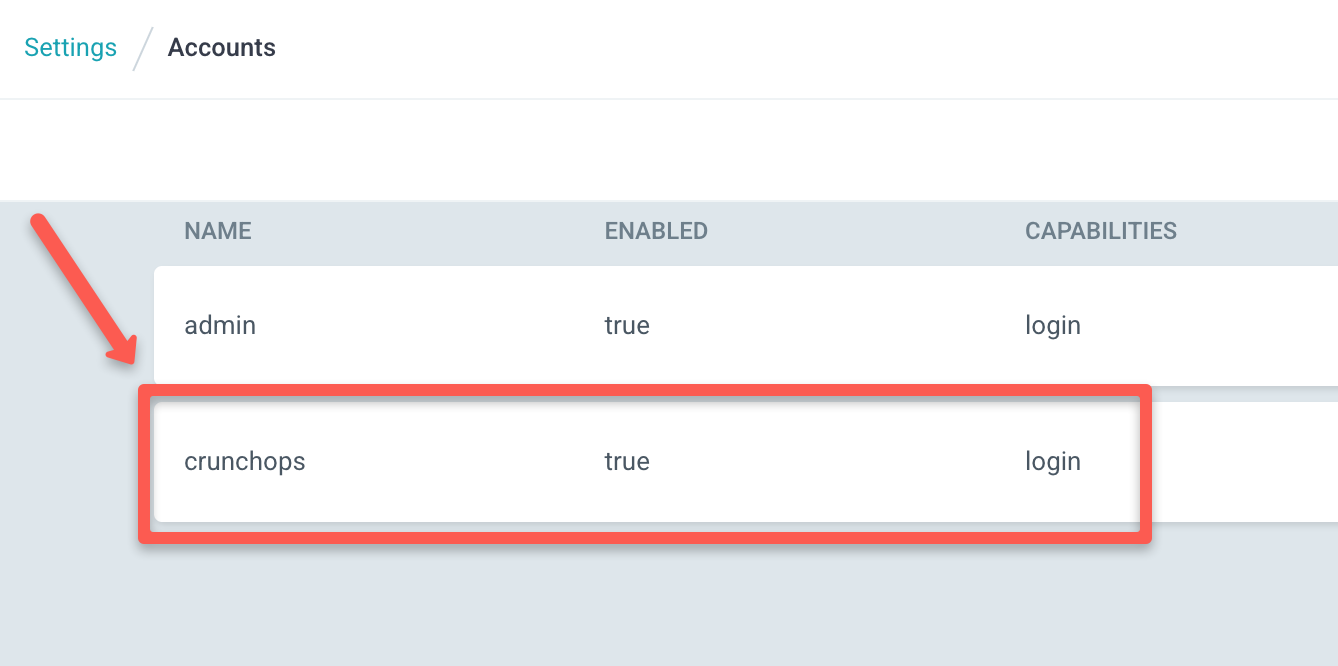
If you go to Setting/Accounts on your Argo CD UI, you can see the accounts as shown below
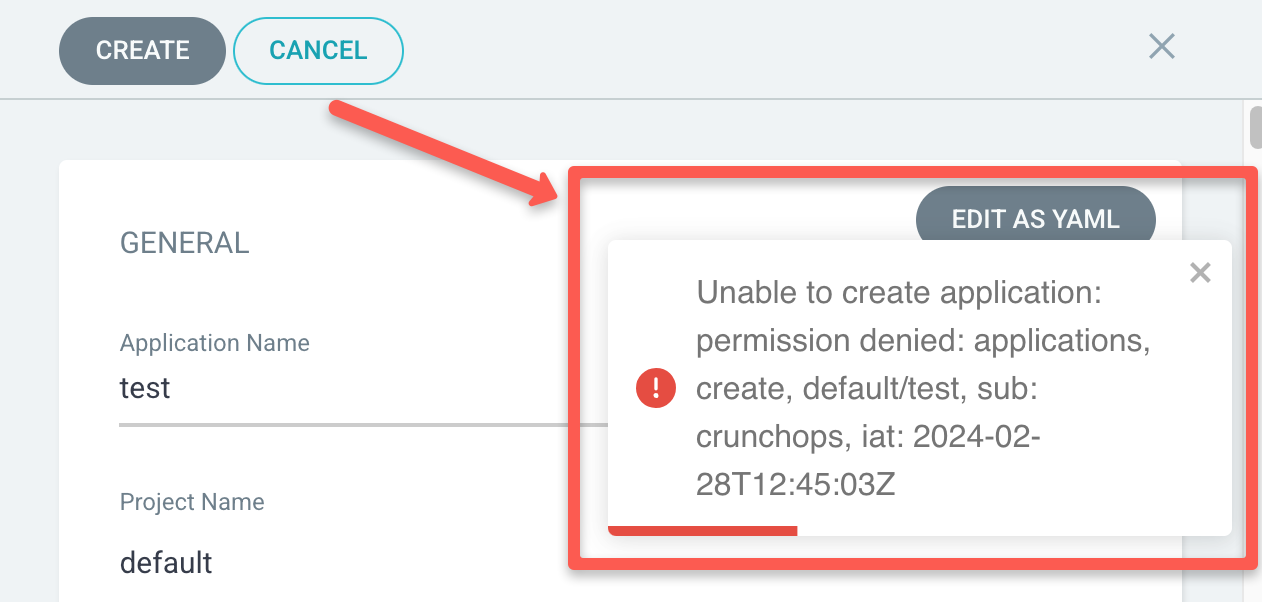
In my Argo CD, the account crunchops only has read access and permission to perform get action on applications, if I try to create a new application using Argo CD I get the following permission denied message
For more information on Argo CD RBAC Configuration refer this document.
Conclusion
In summary, we discussed creating a new account, configuring RBAC for that account, and creating a new password for the account.
I hope this blog helps you understand how to create and attach certain permissions to an account in Argo CD.